Angular Series - 07 - Passing Data: The Classic `@Input` Decorator
Technical Staff
FilterB Editorial
1. The Main Idea: Parent to Child Data Flow
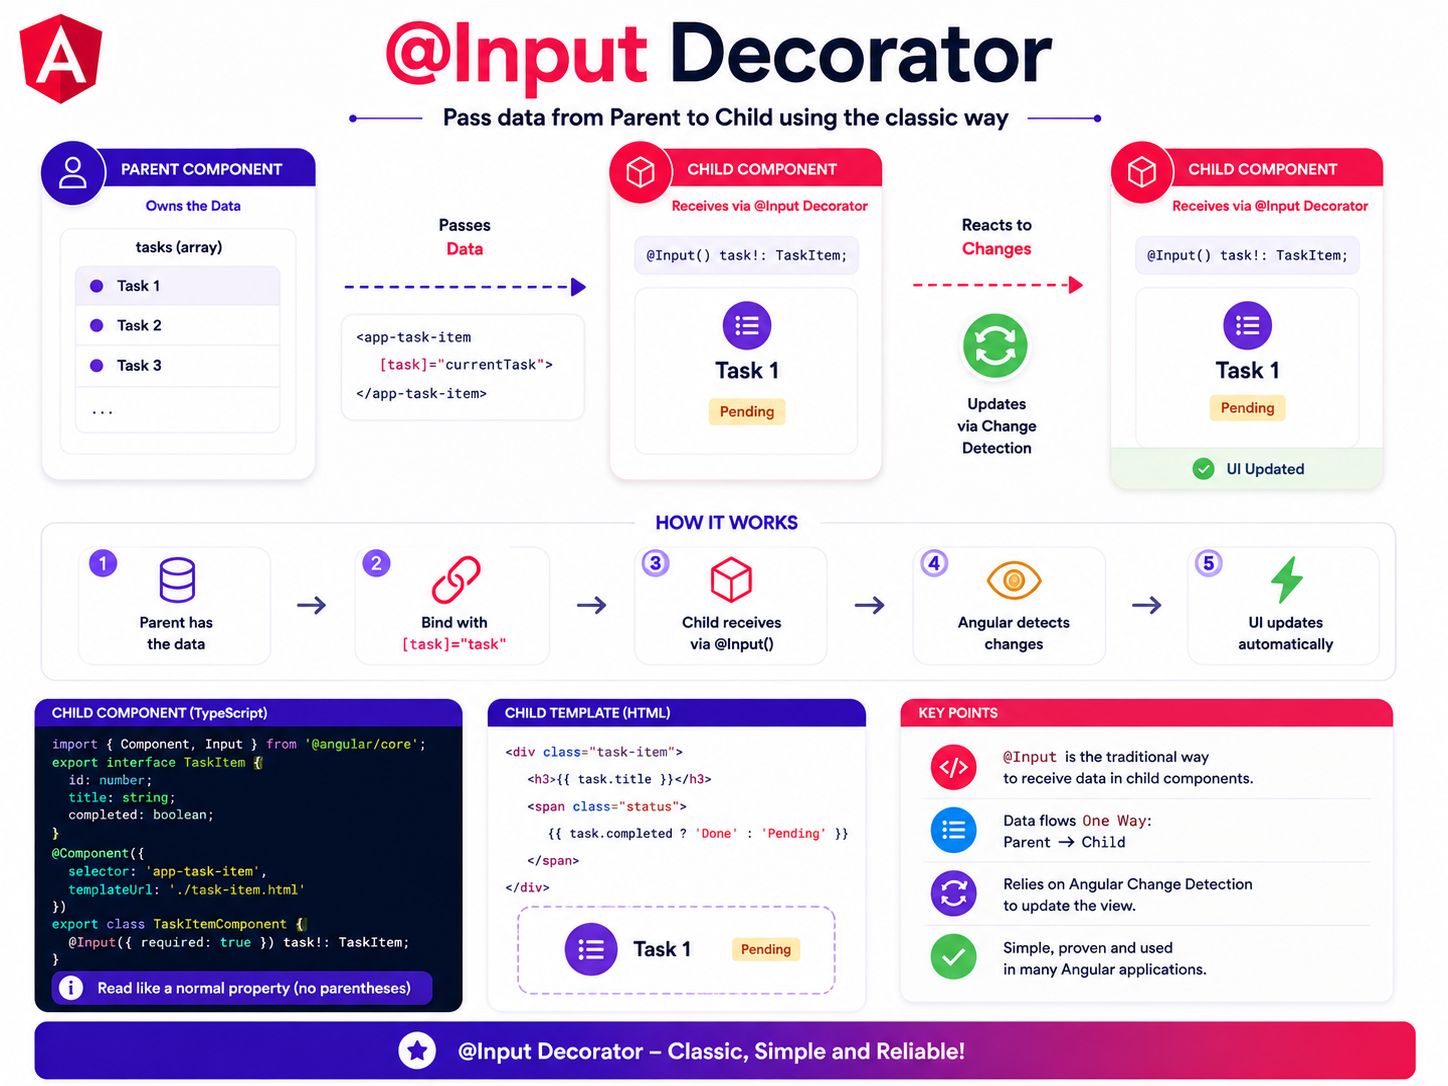
When building robust systems, it is always easier to understand complex architectural patterns if we look at them like a real-life workflow. Imagine a busy office manager and an employee. The manager (your Parent Component) holds the master list of all the day's projects. The employee (your Child Component) doesn't need to see the whole massive list; they just need one specific folder to do their job.
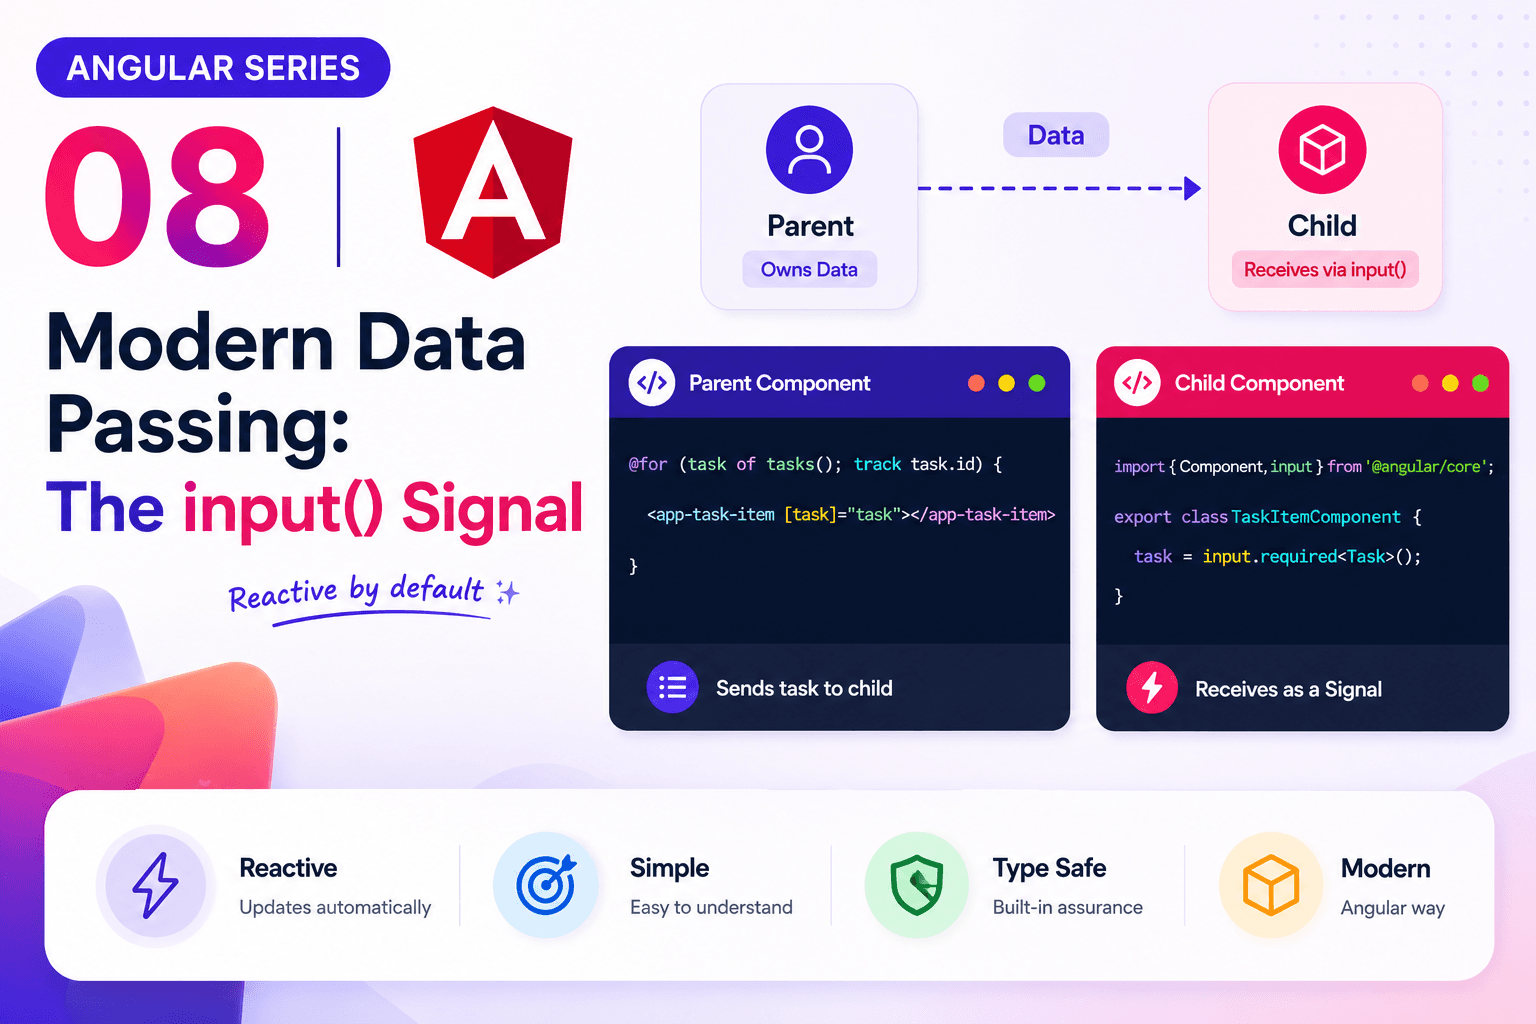
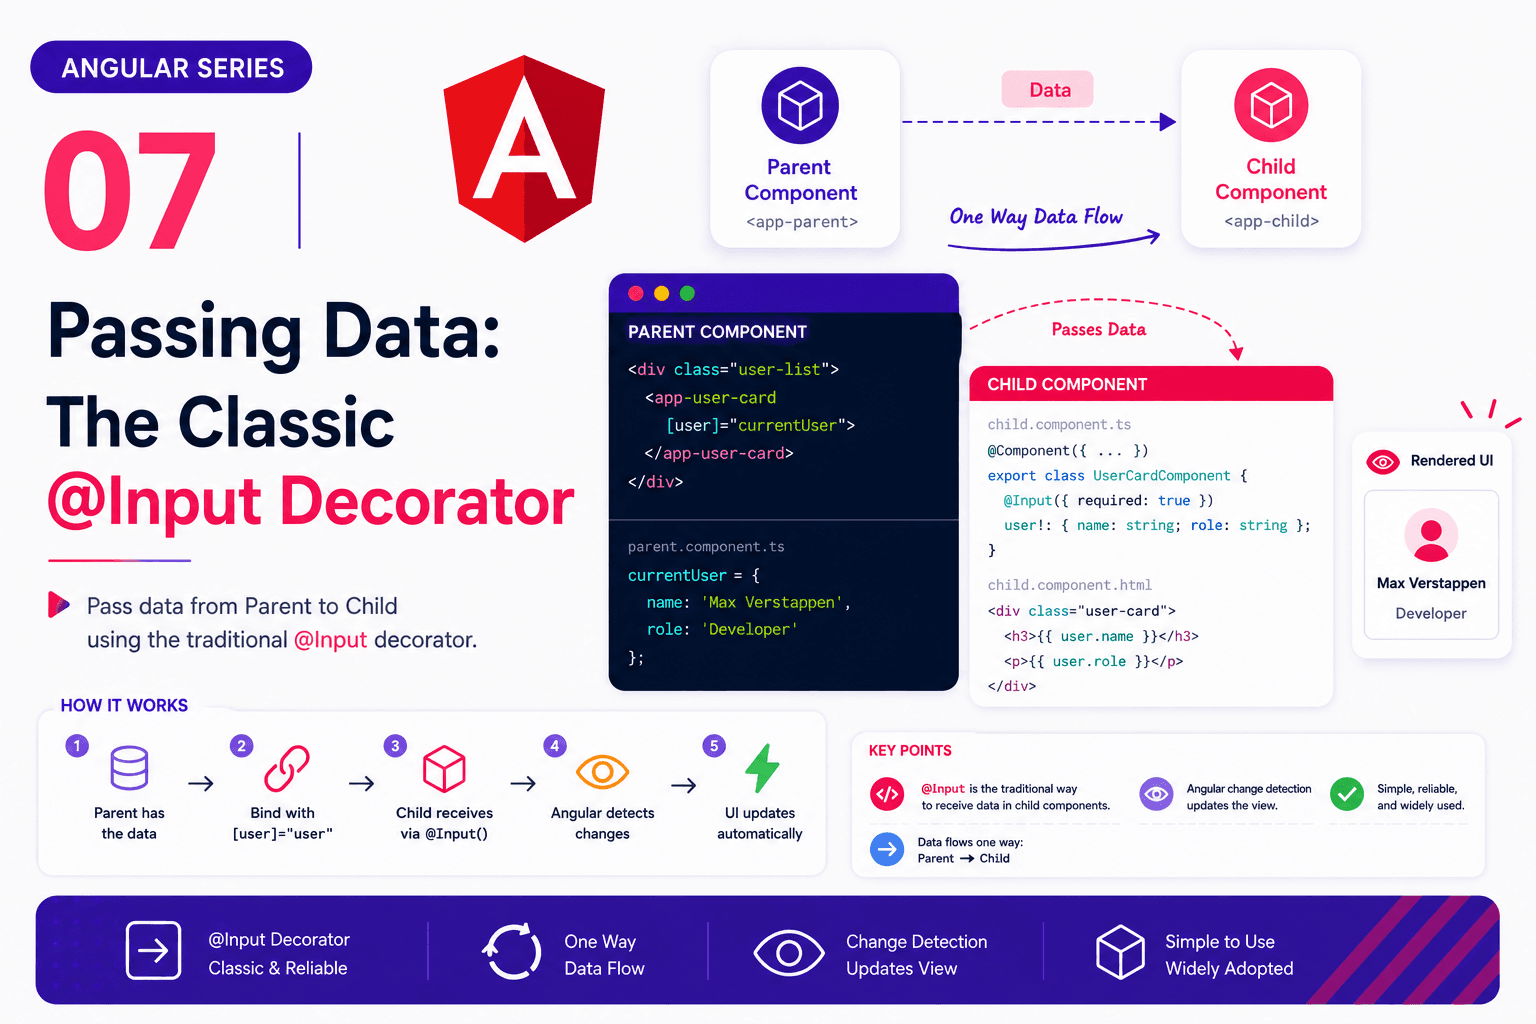
The manager extracts one task folder and hands it down to the employee. The employee receives it, opens it, and executes the work for that specific item. In Angular, the parent component owns the main data array, loops through it, and passes exactly one data object down to the child component. The child receives that value and simply renders it on the screen.
By creating this boundary, the parent focuses purely on managing the state of the list, while the child focuses purely on making a single task look beautiful.
2. Why We Split Components
We do this to keep our application modular. Instead of writing one huge task.html file filled with hundreds of lines of complex HTML classes, we split the logic for one single task row into its own dedicated component named TaskItem.
This gives us cleaner files, easier maintenance, and perfectly reusable UI. If we want to show a task item on a completely different page of our app later, we just drop the component in. This pattern is universal in bigger enterprise apps: you build one table row component, one product card component, or one invoice row component, and then you just feed them data.