Engineering Journal
9 results
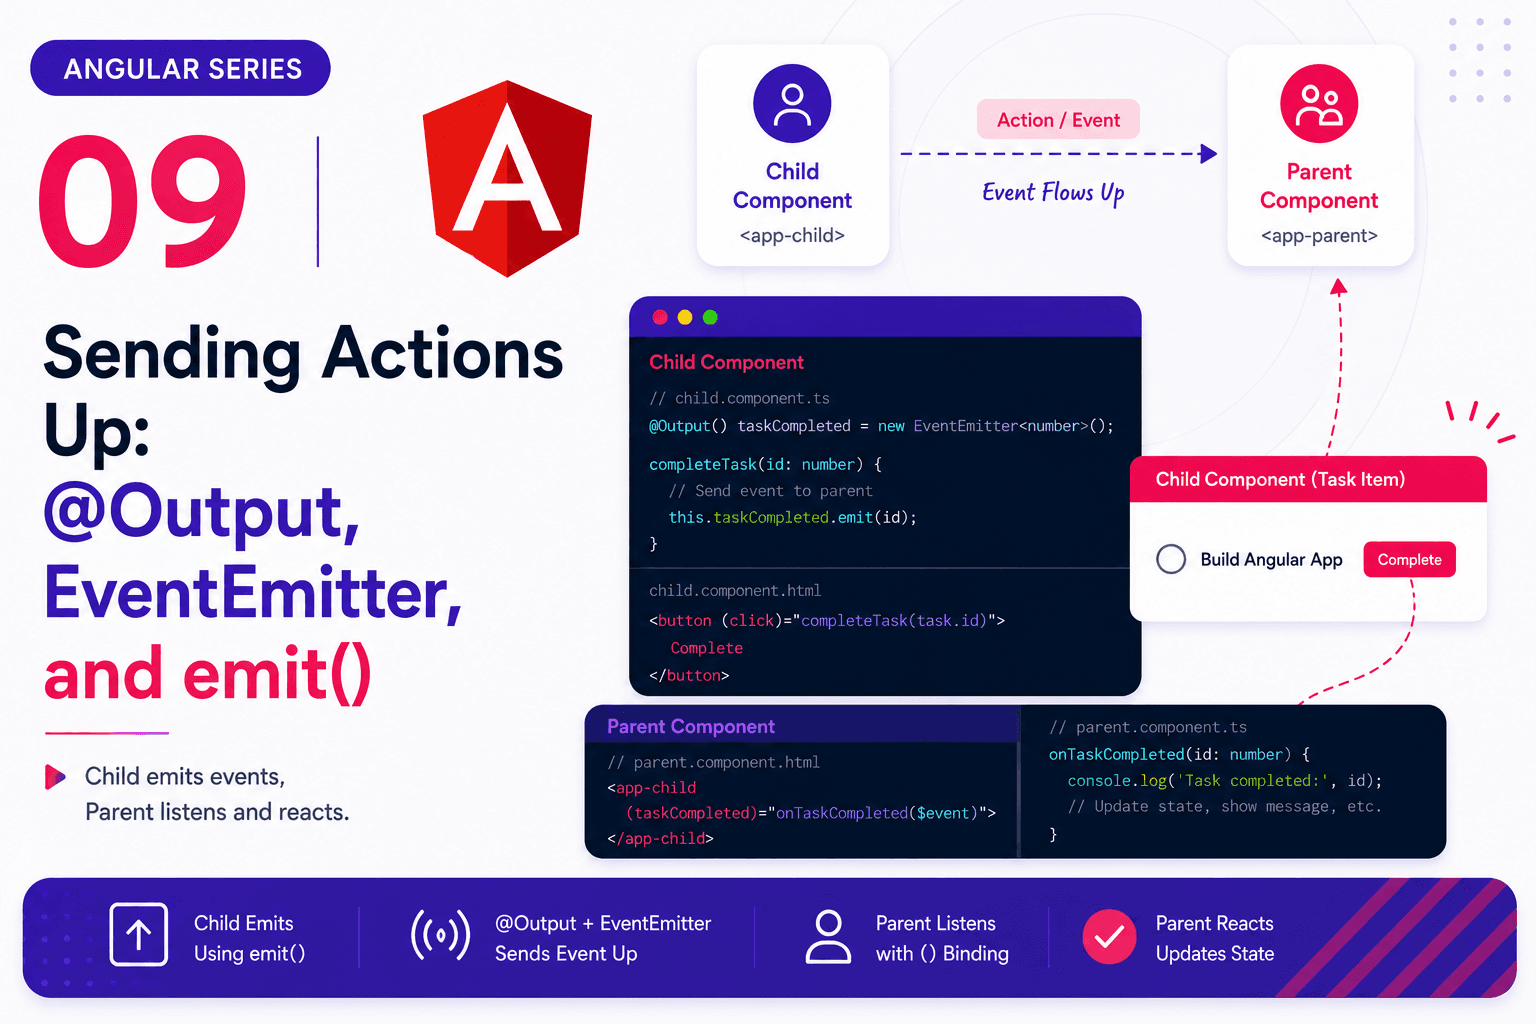
In our previous posts, we learned how to pass data *down* from a parent component to a child component using Inputs. But what happens when the user interacts with that child component? If a user clicks a "Complete Task" button inside the `TaskItem` component, how does the child tell the main `Task` parent component to update the master list? This post explains the exact opposite direction of Inputs. We will explore how Angular child components send data and events *back up* to a parent component using the `@Output` decorator, `EventEmitter`, and the `emit()` function.
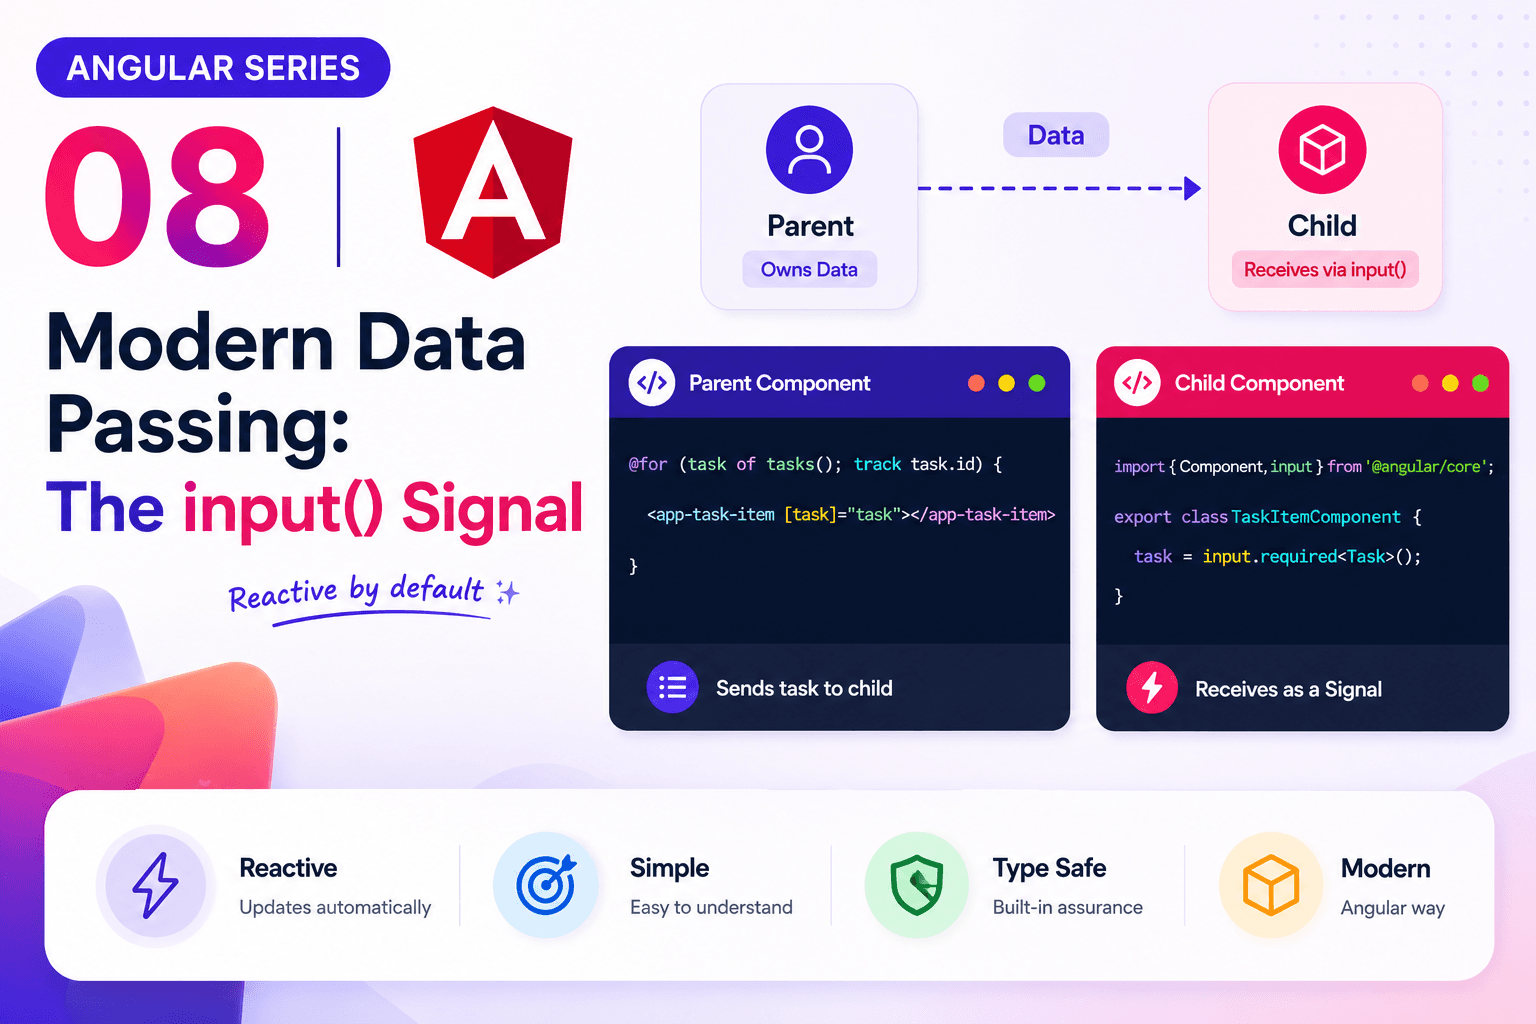
In our previous post, we looked at the classic `@Input` decorator—the traditional way Angular passes data from a parent component down to a child component. While that method is still widely used in older codebases, modern Angular has introduced a much more powerful, reactive, and elegant approach. This post explains the modern Angular way to receive parent data using the **`input()` signal**. If you are building a new application (like your FilterB platform) using modern Angular, this is the exact style you should be using for your components.
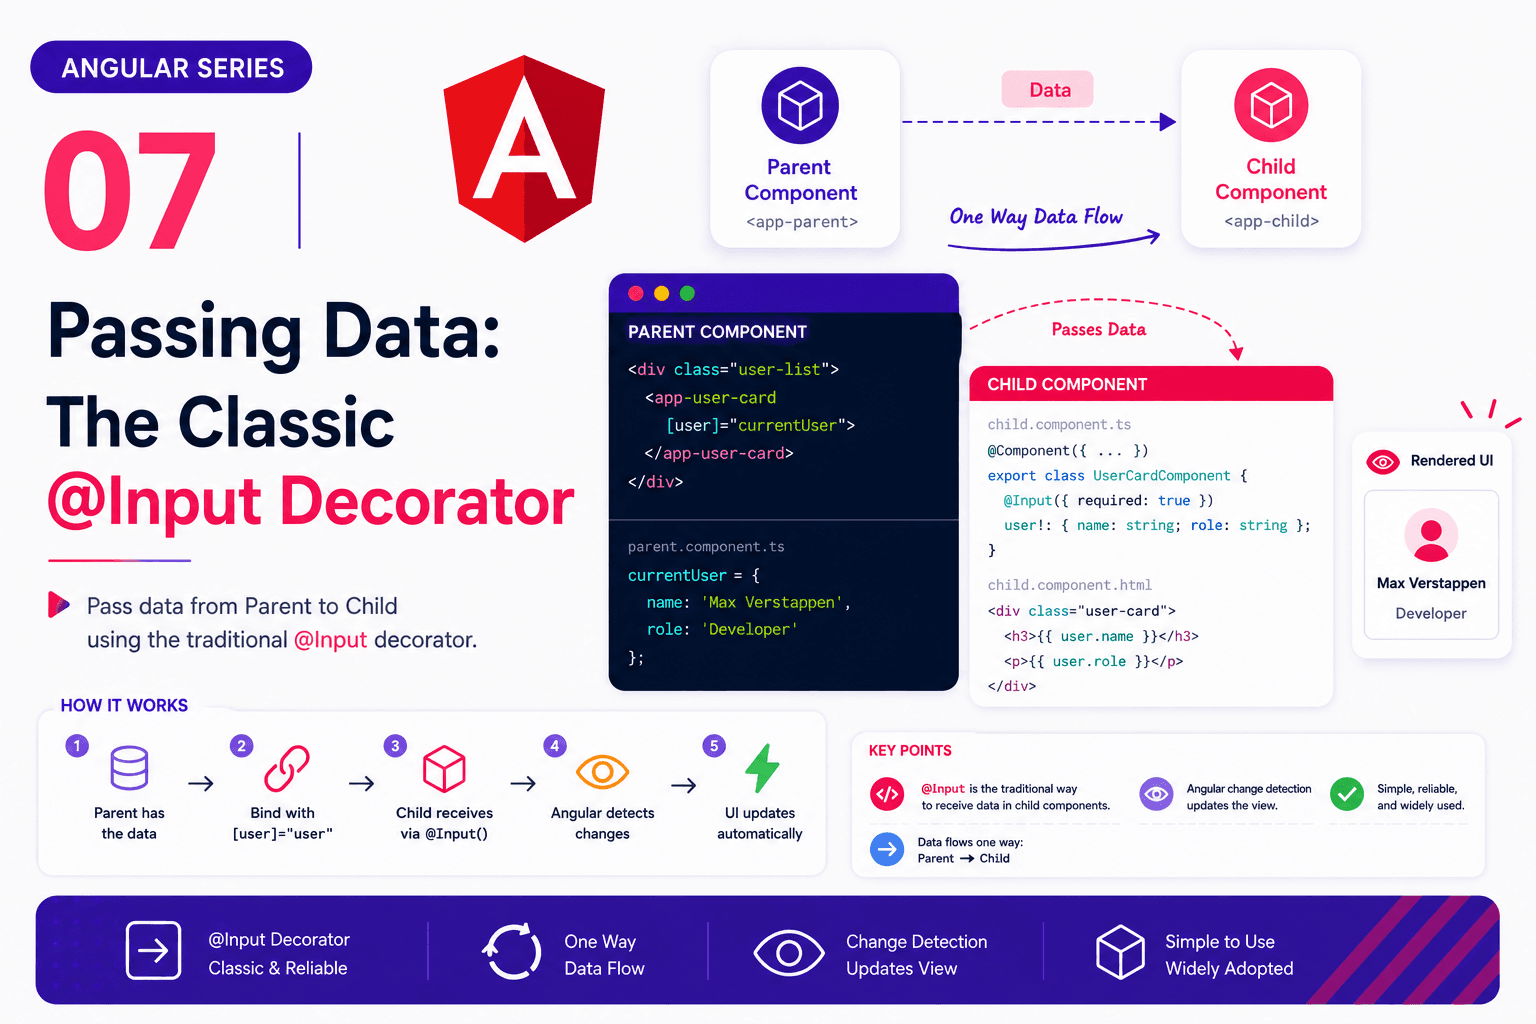
In our previous posts, we built our Task Manager app, loaded up a dummy list of tasks, and used control flow to organize them into pending and completed sections. But right now, all of that HTML is sitting inside one single, growing file. As applications grow, keeping all your UI in one place becomes a nightmare. To fix this, we split our UI down into smaller, reusable building blocks. This post explains the classic Angular way to pass data from your main parent component down to a small, reusable child component using the `@Input` decorator.
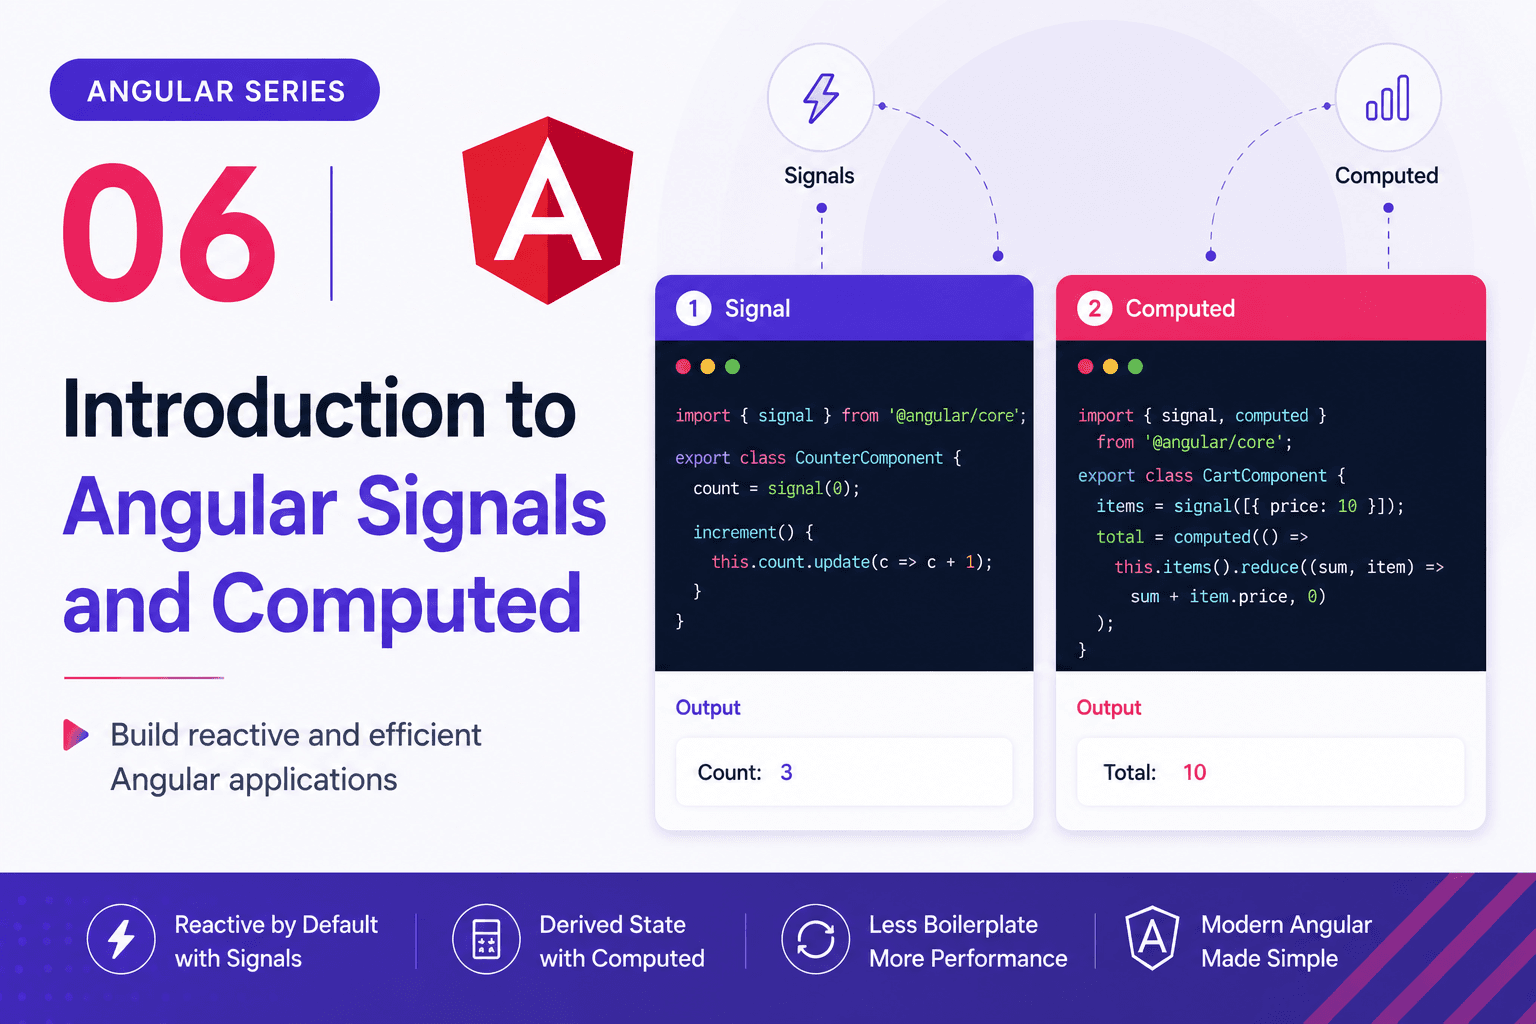
In our last post, we explored how modern control flow (`@for` and `@if`) lets us loop through collections and conditionally swap blocks of HTML. But how does Angular efficiently track changes to those collections so it knows exactly when to refresh the UI? Historically, Angular relied on background change detection cycles. In modern Angular, we have a far more elegant, high-performance, and explicit tool: **Signals**. This post explains Angular Signals in a beginner-friendly way. We will explore how to manage reactive state, how to safely update it, and how to derive clean data using `computed()` within our ongoing Task Manager application.
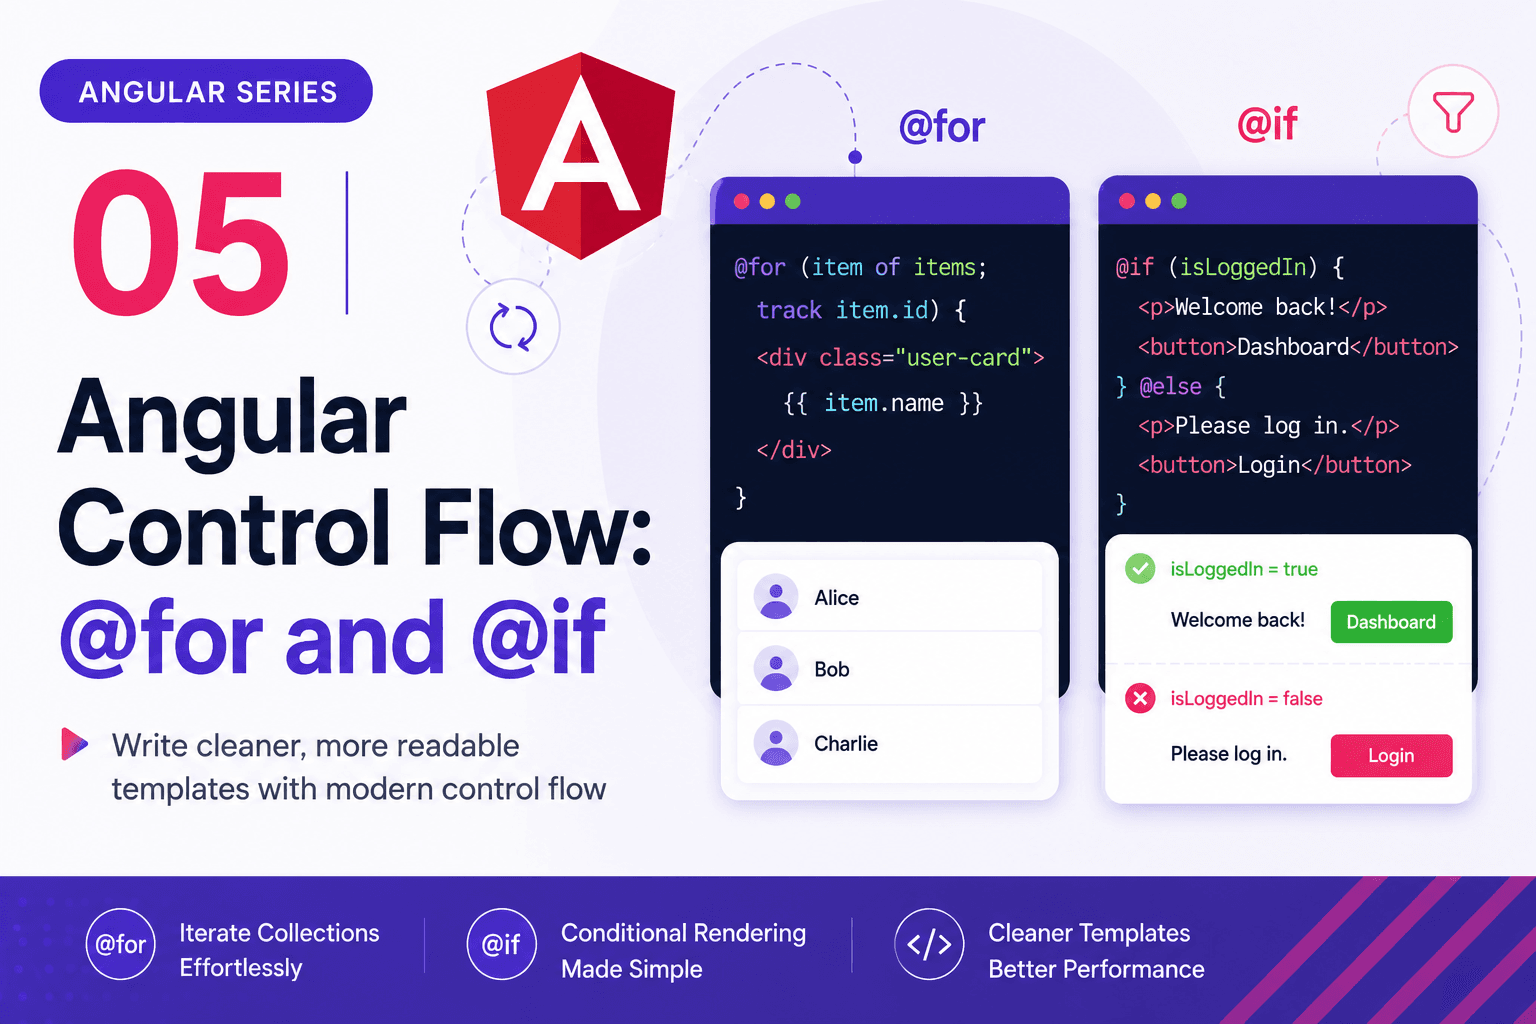
In our previous posts, we learned how to bind data and events from our TypeScript component to our HTML template. Now, we need to control *how* and *when* that data is rendered. This post explains Angular’s modern control-flow syntax. We will look at how to repeat UI elements using `@for`, how to conditionally show elements using `@if`, and how to apply this directly to our Task Manager project to split our tasks into "Pending" and "Completed" lists.
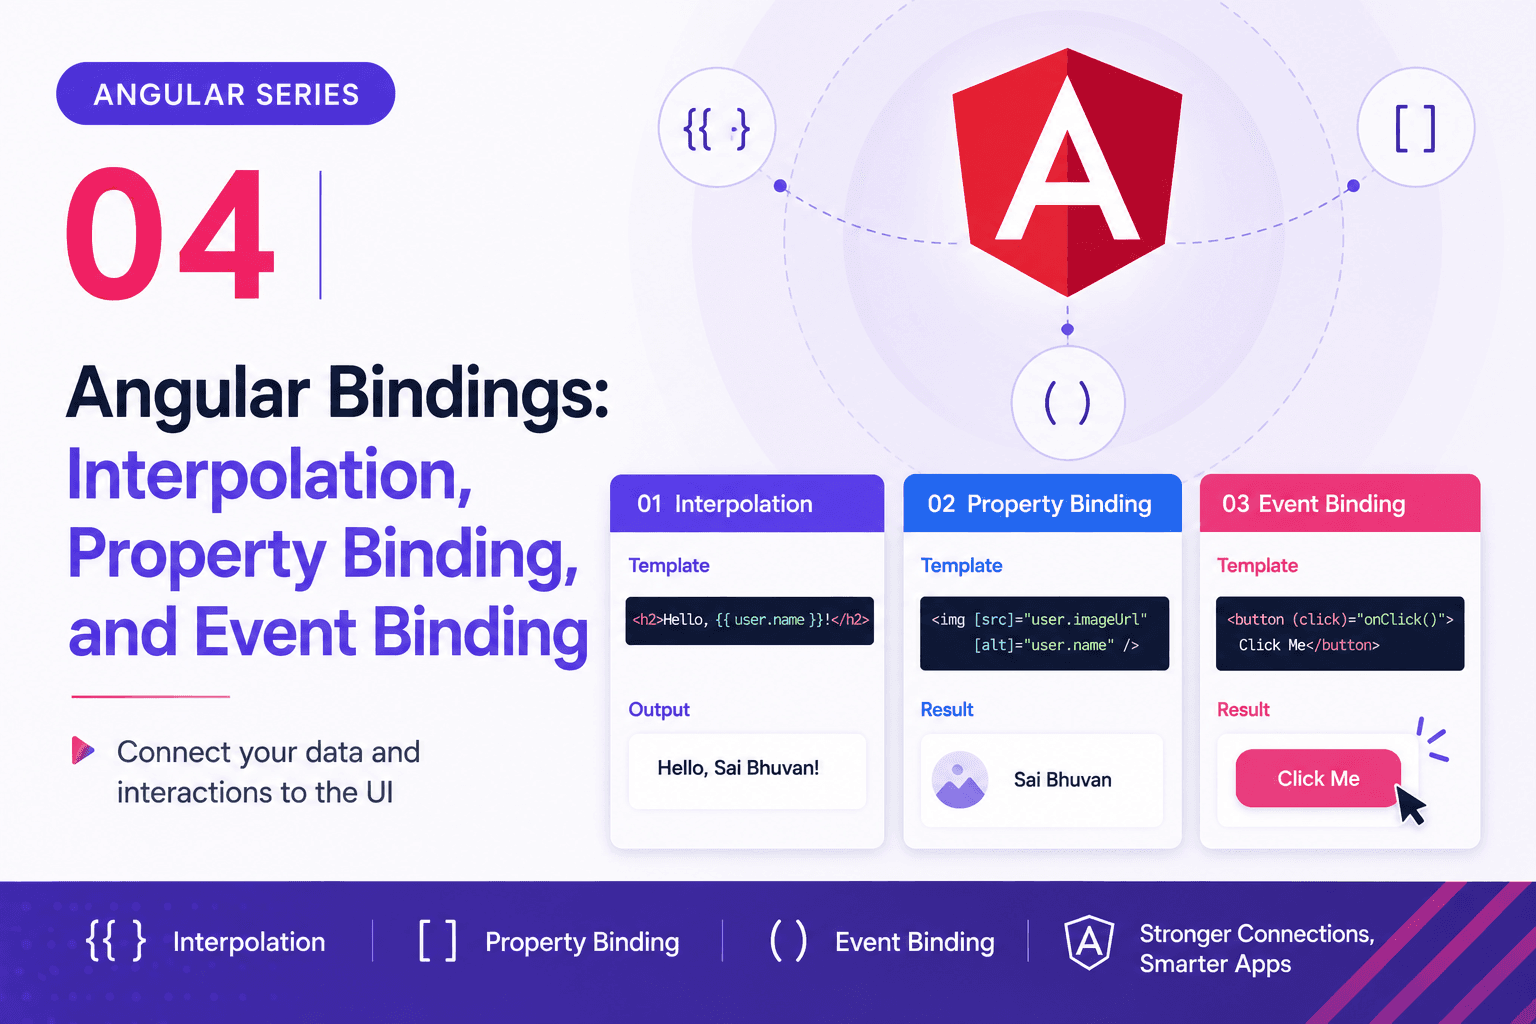
In our last post, we successfully connected a mock JSON dataset to our Angular component and displayed our tasks using Angular's `@for` and `@if` control flow. But right now, our Task Manager is completely static. This post explains the three foundational Angular template concepts you need to bring your application to life: **Interpolation**, **Property Binding**, and **Event Binding**. We will use our current Task component as the main example, so the syntax feels directly connected to the real code we have been writing.
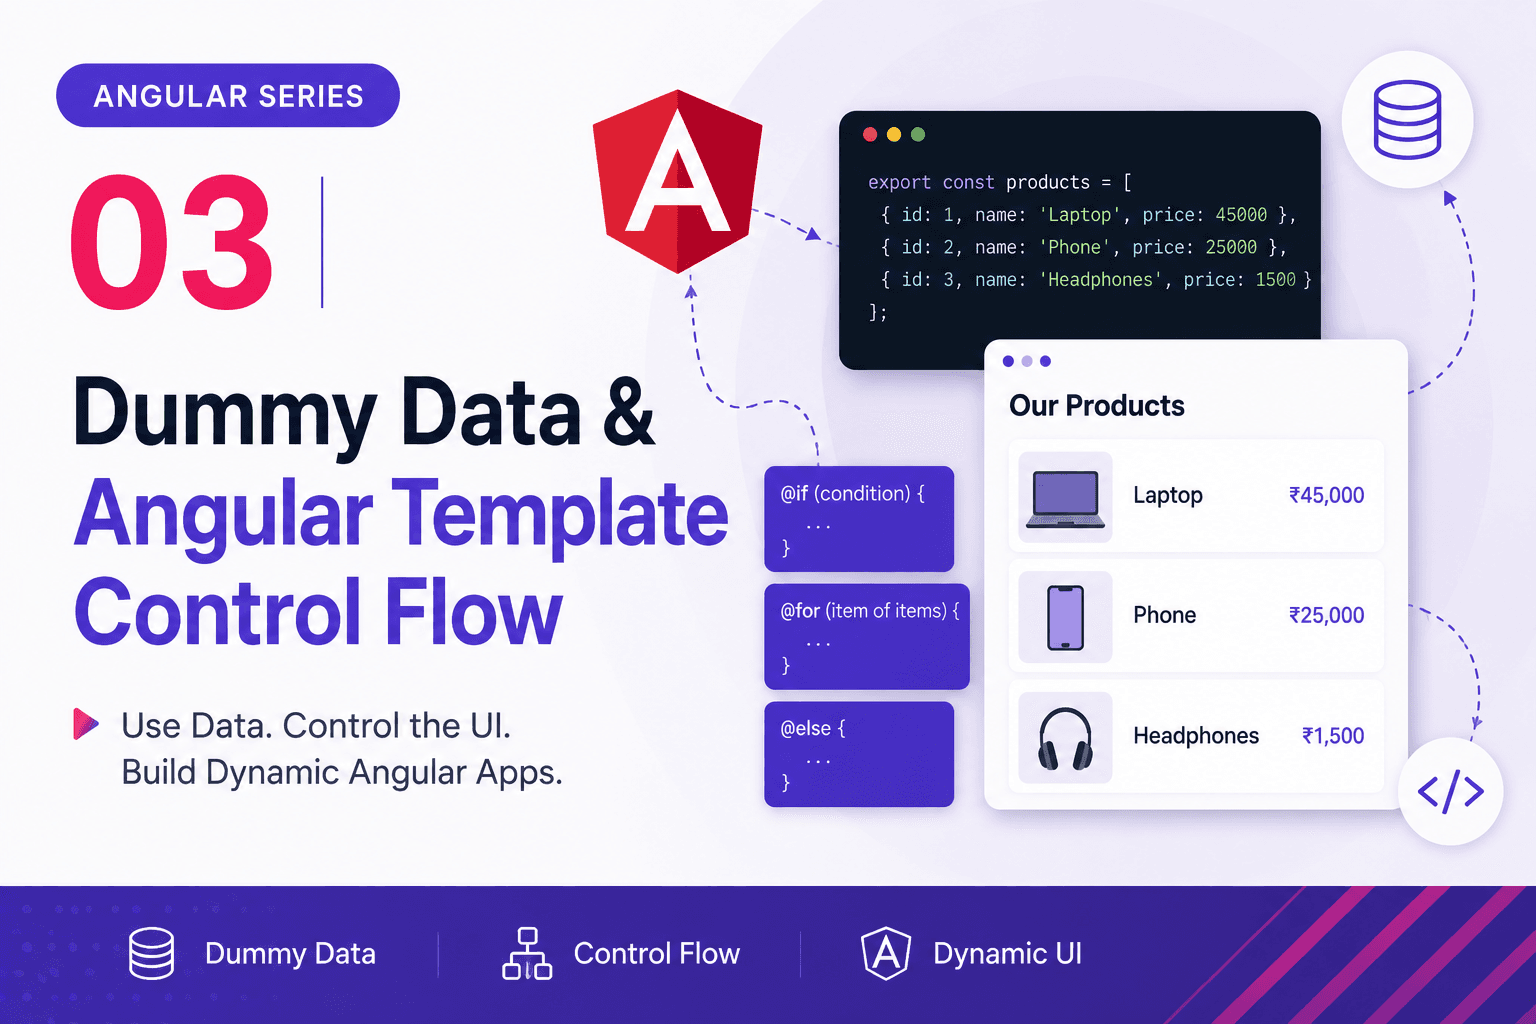
In our previous post, we looked at how Angular splits component logic and visual layout into distinct files using a `task-item` child component. Now, it's time to put that architecture to work by connecting real data. This post will walk you through a foundational backend-to-frontend milestone: connecting a mock JSON dataset to an Angular component and dynamically rendering it using modern Angular template control flow (`@for` and `@if`).
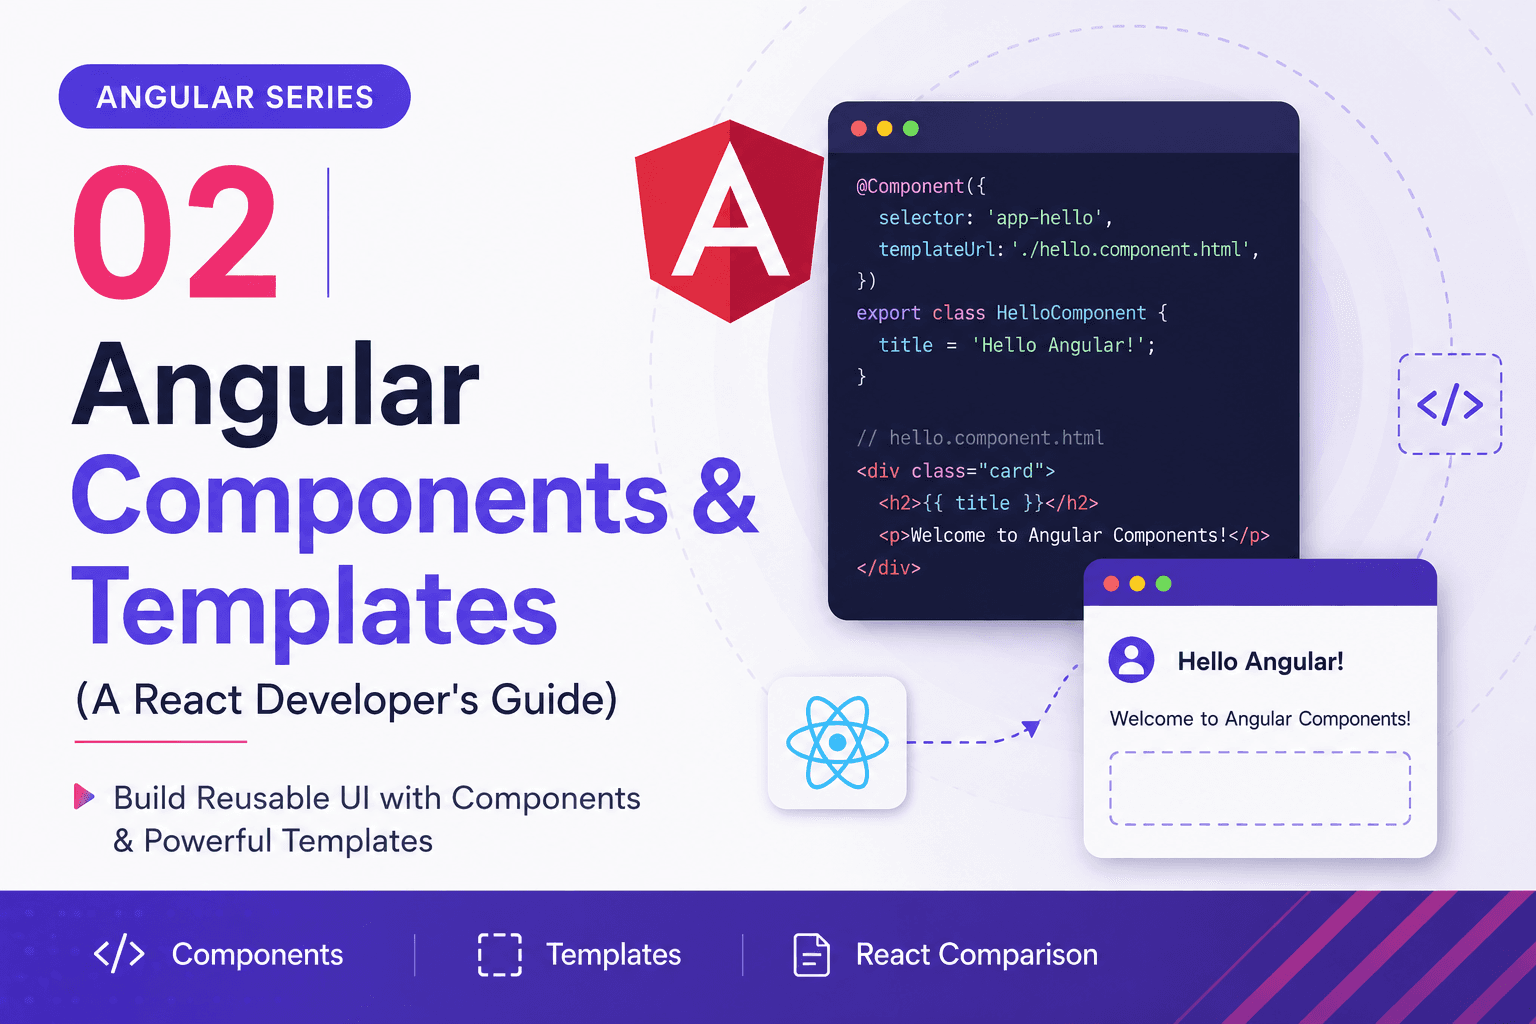
If you are coming from a React background, the absolute easiest way to wrap your head around Angular is to use this....
If you are starting Angular fresh, the easiest way to understand it is to follow the journey from project creation to what finally appears in the browser. This post explains the basics of an Angular project setup, how the Angular CLI helps, and what each important file is doing in your app. To make these concepts stick, we are going to look at them through the lens of a real-world workflow: **building a simple Task/Todo Item manager**.