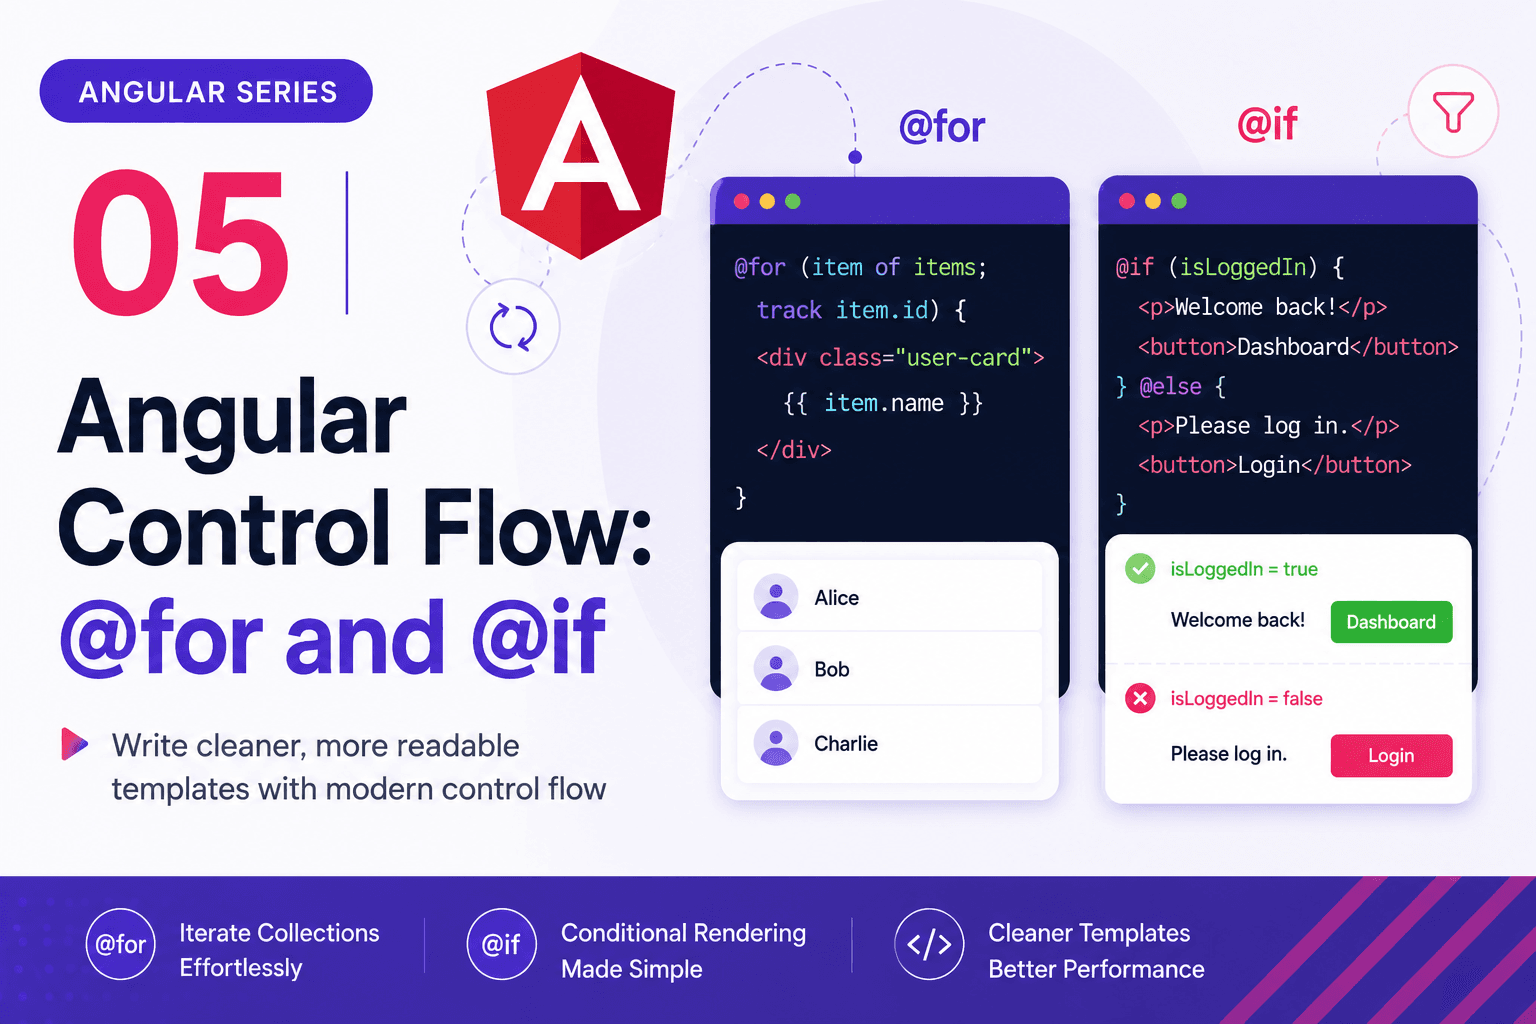
Angular Series - 02 - Angular Components & Templates (A React Developer's Guide)
Technical Staff
FilterB Editorial
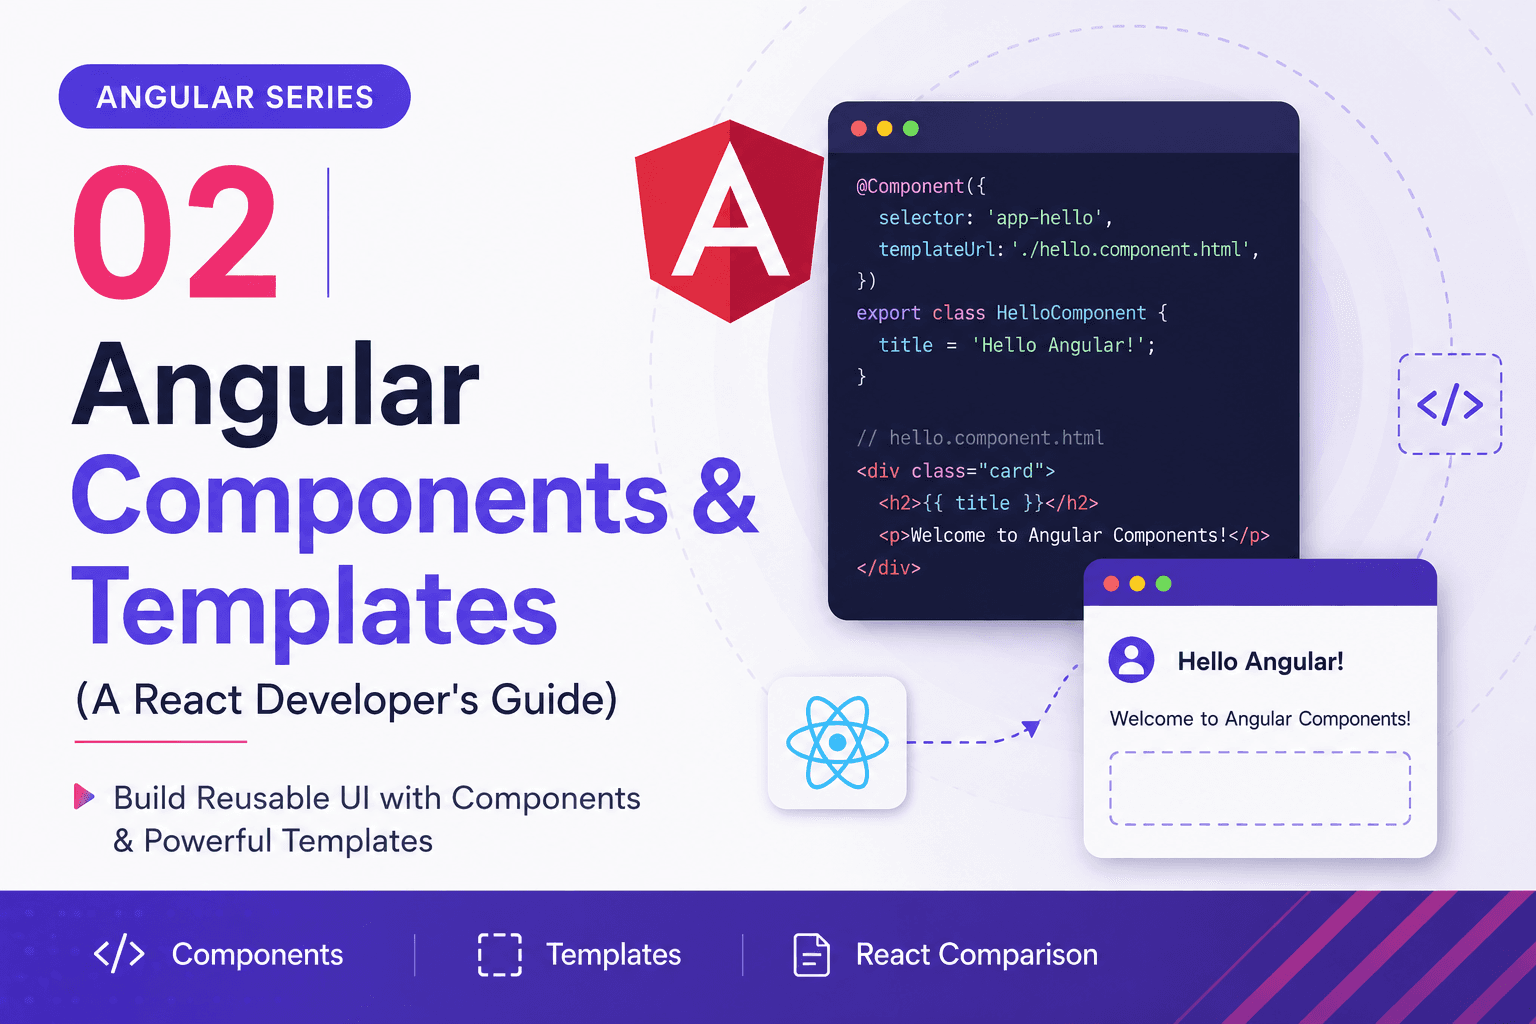
If you are coming from a React background, the absolute easiest way to wrap your head around Angular is to use this simple mental mapping:
- Angular Component = Like a React Functional/Class Component
- Angular Template = Like the JSX or TSX return block
- Angular Class File (
.ts) = Where the component logic, state, and lifecycle methods live
The most noticeable architectural difference is that Angular defaults to separating your UI logic and your markup into distinct, dedicated files rather than mixing them together in a single file.
In our first post, we looked at the root structure of our Task/Todo Manager application. In this post, we will explore how to build out individual UI building blocks by understanding components and templates.
1. Creating a Component with Angular CLI
When building out our Task Manager, you should never create component files manually. The proper Angular way is to let the Angular CLI do the heavy lifting. This ensures all files are correctly structured, named, and linked.
To create a new component for displaying individual tasks (let's call it task-item), run the following command in your terminal:
ng generate component task-itemOr use the handy short form:
ng g c task-itemThis command automatically generates a new directory containing four essential files:
task-item/
├── task-item.ts        # The logic & state (The Brains)
├── task-item.html      # The markup layout (The Face)
├── task-item.css       # Component-specific styles (The Clothes)
└── task-item.spec.ts   # Unit tests for the component